Analysis
Validation & QC
Flow Cytometry Panel Design: A Practical Starting Guide
Start with the biological decision, map the measurement and evaluate the complete panel: an evidence-based framework for development, not a validated diagnostic recipe.
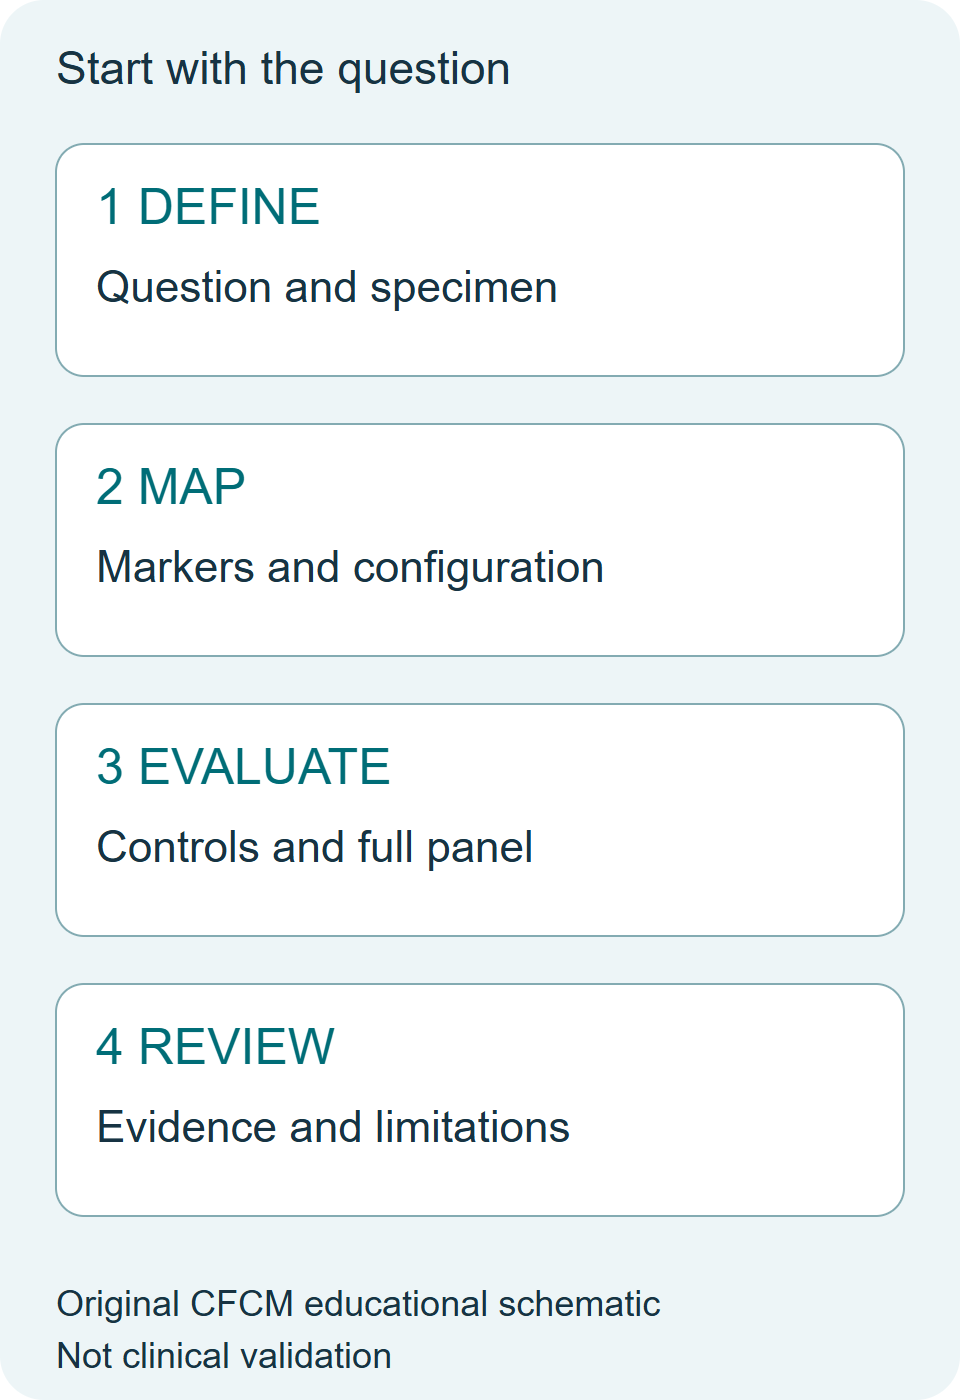
Start with the decision
Write down the population you need to identify and the biological distinction the panel must resolve. Specify the specimen, preparation, instrument configuration and intended use before choosing fluorochromes. A broad discovery experiment and a clinical monitoring assay can require different evidence even when they use similar markers.
Use this guide to organise development. It does not provide a validated diagnostic panel, a universal marker list or clinical acceptance thresholds.
Build a measurement map
Create a table with one row per decision-critical marker. Record the target population, expected expression range, important co-expression relationships, clone, conjugate and available instrument channels. Mark where weak expression must be distinguished from background. Reserve attention for those comparisons before filling the remaining channels.
Document the actual lasers, filters, detector configuration and acquisition settings. A panel name or a list of colours does not establish portability between instruments.
Evaluate combinations, not isolated brightness
A single stain can look satisfactory while a fully combined panel loses the separation needed for the biological question. Examine relevant co-expression patterns and spreading in the complete panel. Nguyen and colleagues described a spillover spreading matrix to quantify contributions to spread and support instrument comparison and panel design [1]. Such measurements inform a design; they do not establish diagnostic validity.
Keep compensation or unmixing references distinct from controls used to interpret population boundaries. Record which question each control addresses. Avoid assuming that one control substitutes for all the others.
Titrate under the intended conditions
Assess antibody concentrations in the specimen and preparation relevant to the procedure. Record both separation and background rather than choosing the condition with the highest positive intensity alone. Check important combinations after assembly, including any treatment or processing context that could change the interpretation.
Manufacturer examples are useful starting material, but their sample types and experimental conditions define their scope. A published panel still needs local verification before use in another procedure.
Connect instrument QC to the experiment
Keep an instrument-performance record alongside the panel record. Perfetto and colleagues describe a quality-assurance programme covering optimisation, calibration and monitoring [2]. A satisfactory instrument check supports acquisition, but it cannot establish that specimen preparation, staining and analysis are suitable.
The EuroFlow standardisation work combined instrument settings with sample preparation, staining protocols and antibody panels [3]. Its lesson for development is that comparability depends on a coordinated procedure. It should not be read as automatic validation of an arbitrary panel.
Decide what evidence would change the design
Before testing, identify the comparisons that matter: separation of relevant populations, consistency across runs or operators, specimen effects and the stability of the intended interpretation. Choose acceptance criteria appropriate to the intended use and governing procedure. Record failures as well as successful examples.
An educational example: if a weakly expressed marker becomes poorly resolved only in the full panel, investigate co-expression, spread, reagent conditions and instrument performance before interpreting the change biologically. The example is conceptual and contains no patient results.
A concise development record
- Intended question and specimen.
- Complete marker, clone and conjugate list.
- Instrument configuration and acquisition conditions.
- Control purpose and acceptance criteria.
- Titration and full-panel observations.
- Analysis plan, limitations and change history.
- Exact version taken forward to documented review and intended-use validation.
Related CFCM learning: Panel Design, Validation & Verification and the Resources library.
Primary sources and scope
[1] Nguyen R et al. Quantifying spillover spreading for comparing instrument performance and aiding in multicolor panel design. Cytometry A. 2013;83:306–315. DOI 10.1002/cyto.a.22251; PubMed.
[2] Perfetto SP et al. Quality assurance for polychromatic flow cytometry. Nature Protocols. 2006;1:1522–1530. DOI 10.1038/nprot.2006.250; PubMed.
[3] Kalina T et al. EuroFlow standardization of flow cytometer instrument settings and immunophenotyping protocols. PubMed 22948490; DOI 10.1038/leu.2012.122. This guide uses the study for the coordinated standardisation principle, without transferring its performance to an arbitrary panel.
Daily Learning Pill
A panel is a measurement procedure, not just a marker list. Define the biological decision and specimen first, then test the combined reagents, instrument conditions and interpretation against that intended use.
Scientific and editorial review: ChatGPT/Codex, 21 October 2026, by the preparing editor; not independent or human review. The cited methodological principles were checked against Nguyen et al. and Kalina et al. primary text and the Perfetto et al. primary abstract. No protocol-specific thresholds or clinical performance are inferred. Original educational synthesis and artwork; no third-party figure reproduced.